Tags
Easter, Easter Decor
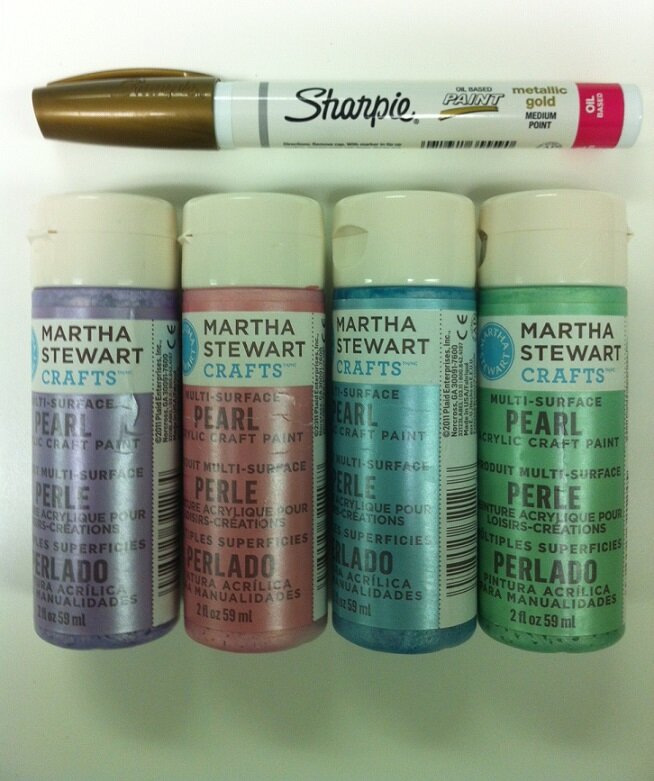
 I’ve always had fond memories of decorating Easter eggs as a kid, but I fear my own kids’ memories won’t be quite as pleasant. Decorating eggs with kids is a bit of an issue for control freaks like me that usually ends up in frustration on both sides. This year I tried a slightly different approach. I boiled , and I took half for me and split the other 18 amongst the three kids I was decorating with. (Does that make me sound like an egg hoarded? I wasn’t trying to be stingy, but I knew I wanted to use mine for store display!) I had planned on dying all of them, but in the midst of searching for vinegar in the basement (which I never found) for the dye, I came across a set of Martha Stewart pearl paint and an oil based gold paint Sharpie and decided I’d let the kids do the dying and I’d take a different approach. I figured this would also be helpful with my control issues since I wouldn’t have to worry about the kids mixing the dyes with their dirty spoons which was bound to happen and did.
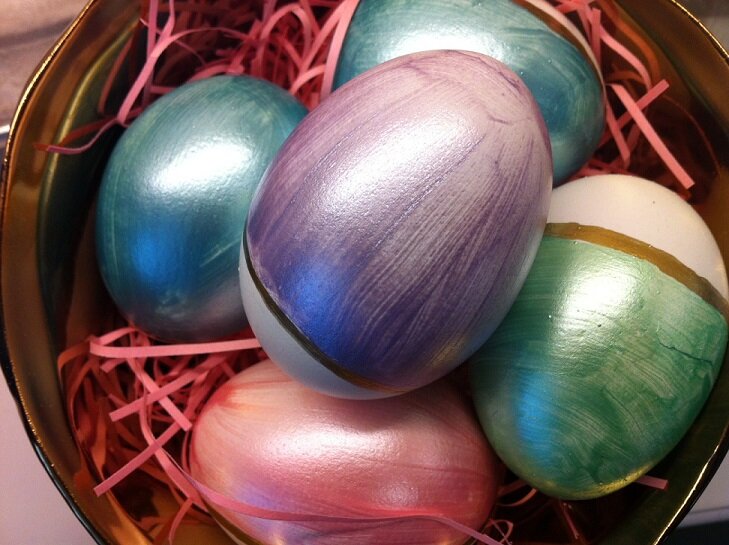
 And better yet, this approach allowed me to do mine on my own time instead of when I had the dye all mixed up for them. I simply used a flat edge brush to paint the eggs. I only used one color on each egg and opted not to cover the entire egg but go for a color block effect instead. After painting each one, I let it dry on a wire cooling rack. Once the eggs were dry, I took the Sharpie and drew a band along the painted edge to make it a bit more refined and add a touch of gold to it.
 It’s pretty impossible to get an effect that doesn’t show some of the brush strokes, but I’m pleased with how they came out, and considering I was able to create them from simply what I found in my craft corner of the basement, I’m even more pleased. Oh, and the kids’ eggs came out well too. The dropped on the floor, marker over dye and topped with stickers look just wasn’t what I was going for myself!
What unique approach have you taken to decorating your eggs this year? Share in the comments!
